In this post, we will be creating an optimized docker image for GO application using multi stage build - using alpine image and then produce a small image with only binary in a scratch image. Let’s read further…
Assuming that you have got docker, git and GO installed on your machine so that you can build your GO app locally and then create a docker image.
Multi Stage Build
We will be creating a multi stage build.
First stage -> We will use base image as
golang:alpineAlpine Linux image to build our application.
Second stage -> We will use docker scratch image - zero byte image and then our build will contain binary executable built from first stage.
GO Application
I have got a GO application running locally, which is a simple Product API built using GorillaMux and exposing 5 endpoints.
Code for Product API is available on my github repo - GO Product API
GET /products/
POST /products/
PUT /products/{id}
PATCH /products/{id}
DELETE /products/{id}
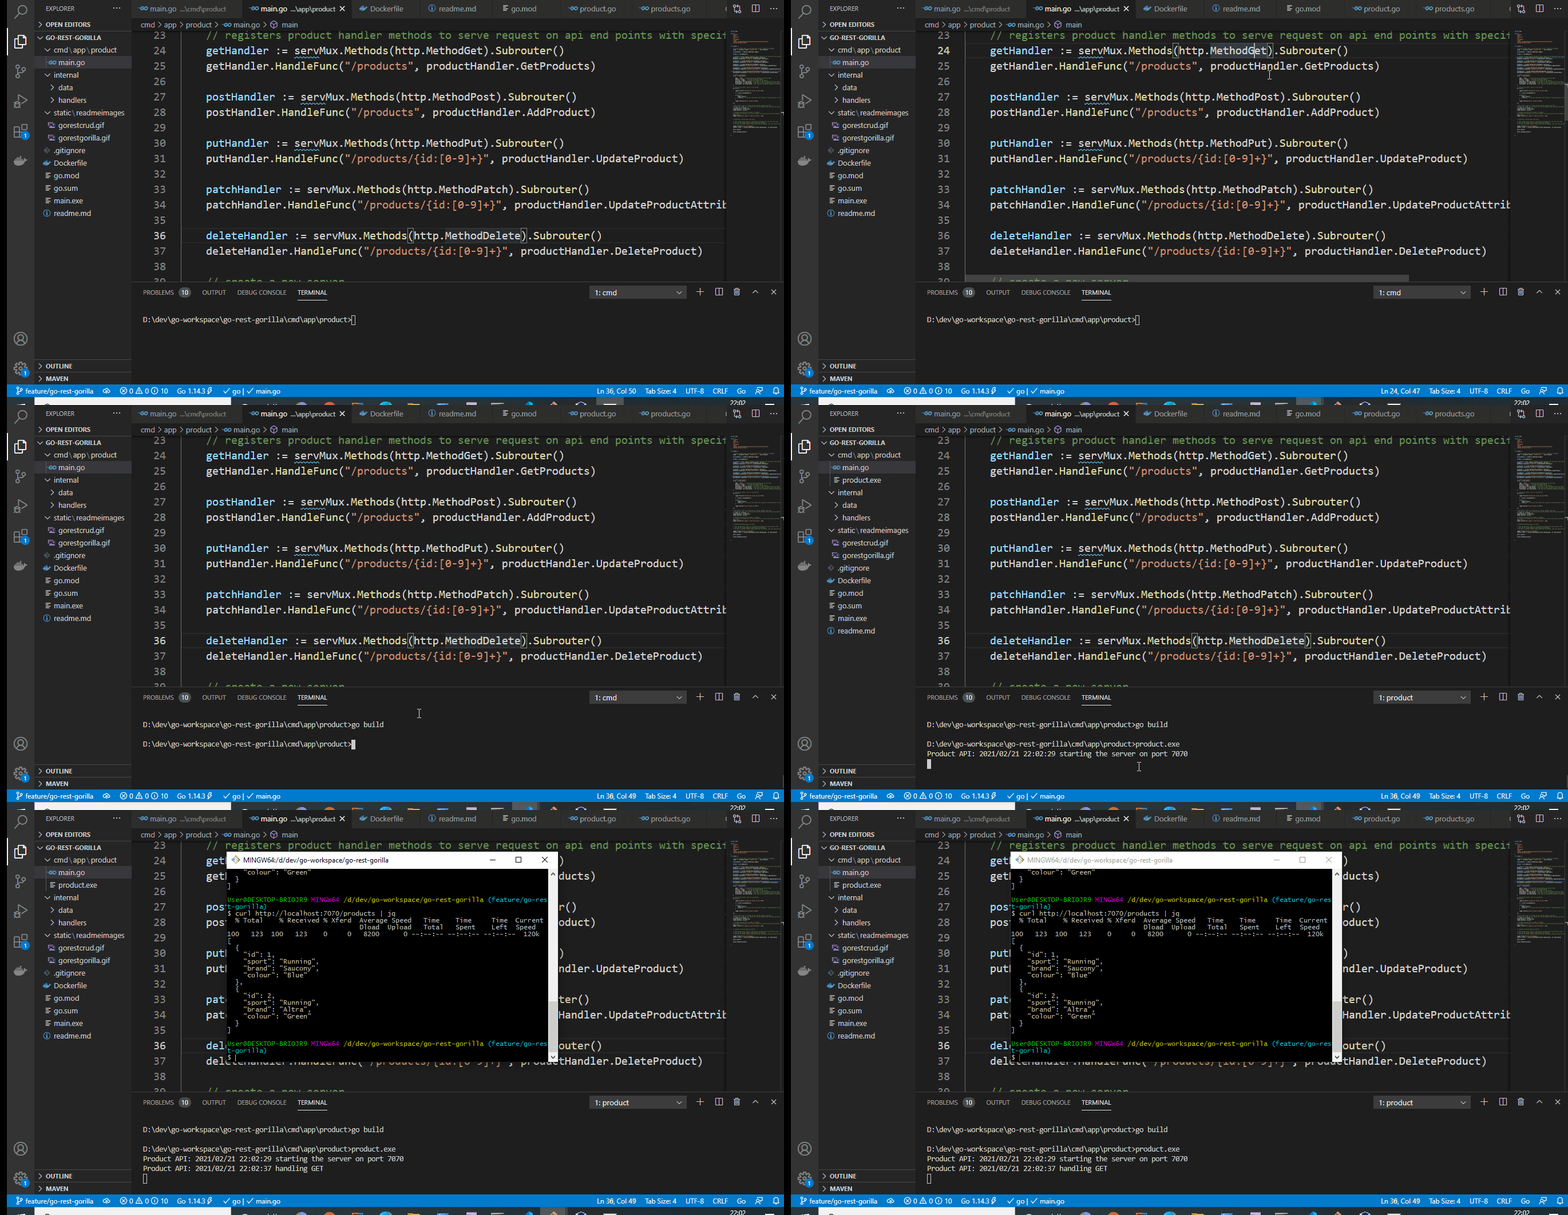
Let’s quickly build and test app locally
|
|
Please click on below animated gif to get better view 😎

Creating Dockerfile
Let’s create docker file with multistage build.
|
|
Creating Docker image
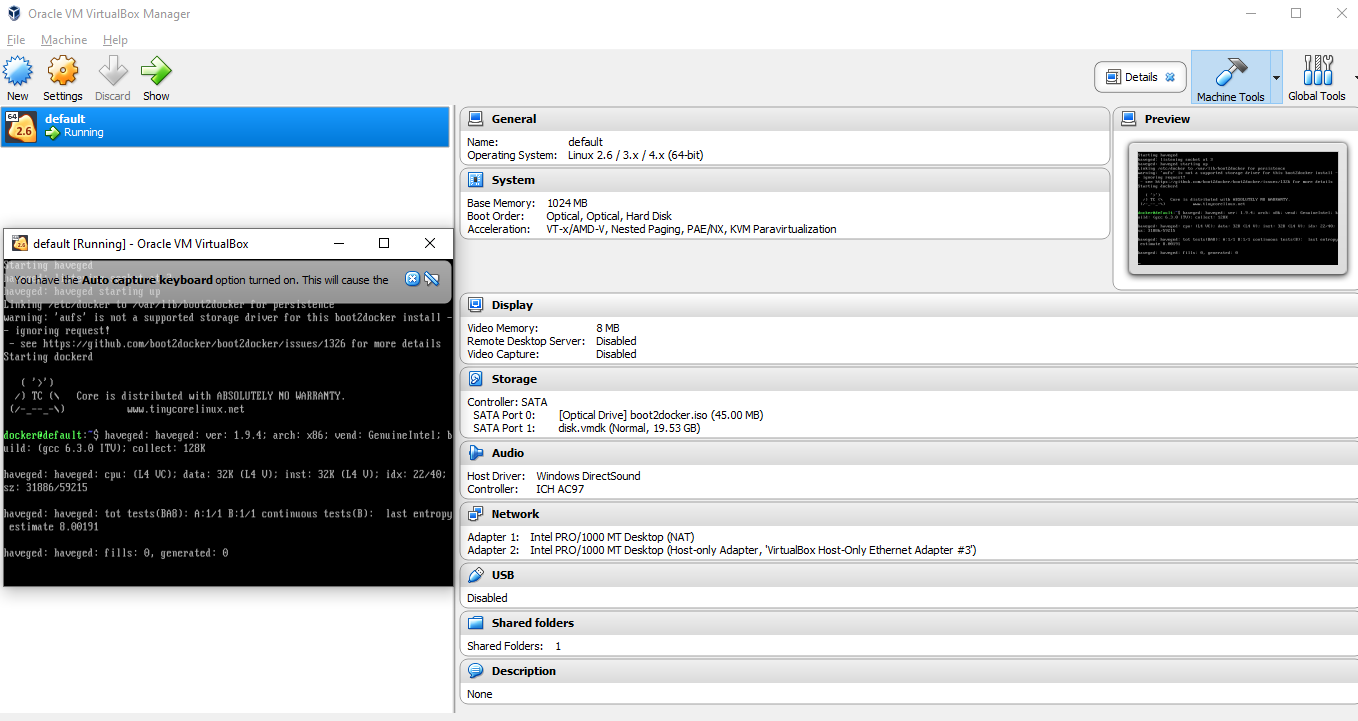
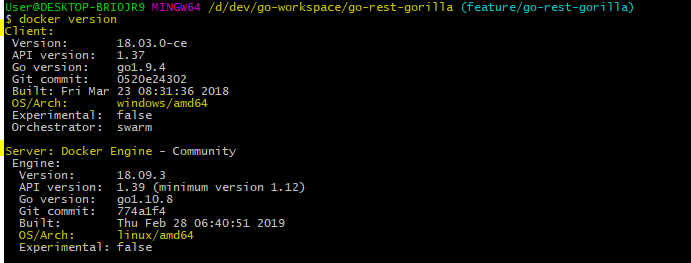
I have got docker installed on OracleVM virtual box on my Windows 10 machine.
My setup looks like this. Please expand the section Docker setup on Oracle VM
Ok, let’s build our docker image.
|
|
Optimized image - it is just
8.02 MB👋
Image without scratch - Now, if we modify our docker file and build image without scratch,
then our docker image size would be353 MB😡
Running Docker image 🏃
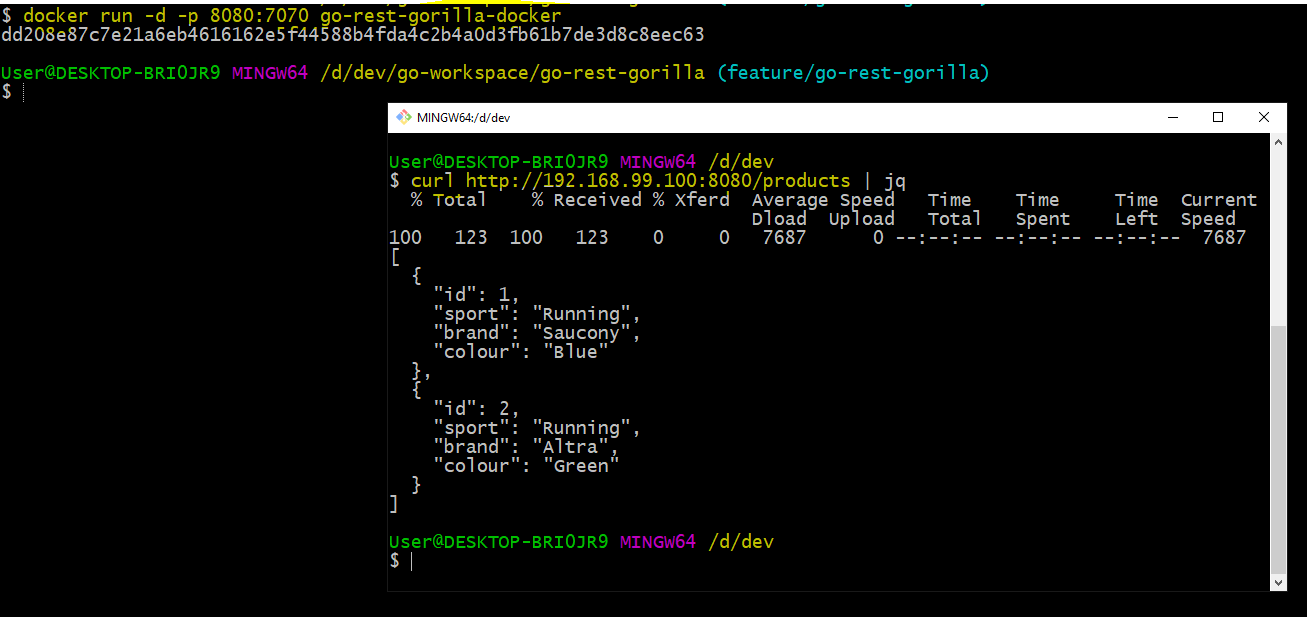
Ok, let’s run our docker image and test the application.
|
|
We are now running our docker image, mapped port 8080 to our exposed port 7070.
If you notice, I use IP address here not localhost because, my docker is running on OracleVM box which has got it’s IP address configured as 192.168.99.100
Code
Complete code is available on my github repo here GO Rest Gorilla - Product API


